Page 3 of 6
Posted: Mon Jul 16, 2007 10:04 am
by Bennoz

For those of you that butchered it, what grade sandpaper were you using? 40 grit?
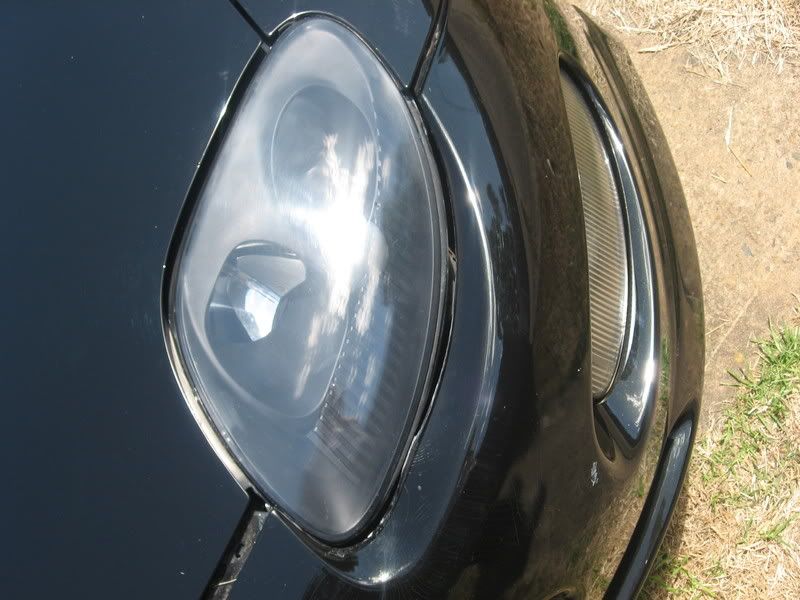
To do this right takes hours & about 3 different grades of paper. Start with 800, then 1000, then 1200 - then use the polish. You have to completely remove the film on top of the light.
Posted: Mon Jul 16, 2007 10:13 am
by Grue
.......... and keep the paper and headlight very wet while you're sanding it with the wet&dry paper! Don't start with the polish till it's totally milky smooth.
Posted: Thu Mar 06, 2008 7:35 pm
by Grue
Just did mine again... buy hand. Don't feel you need to go out and buy an electric buffer for this!
During Sanding:

After Cut and Polish:

Half&Half:

Posted: Thu Mar 06, 2008 8:55 pm
by Sinalot
Nice !

Did my RHS headlight last weekend, taking me about 2 hrs. Came up perfect !
Posted: Fri Mar 07, 2008 9:36 am
by Richy
Posted: Wed Mar 12, 2008 2:40 pm
by Sugar
just did mine yay
cloud reflection wooo
Posted: Wed Mar 12, 2008 8:09 pm
by Sugar
i also did a write up with pictures
if you want me to post it i can.
bought the film.. 40 bucks from super cheap
i f*cked up .. then got the sh*ts and got it stuck in my hair
that annoyed me even more...
i would have taken my lights out to make it easyer.. but they wont come out untill i repair my front bar.
anyway let me know if you want the diy with about 15 piccies (front page has none)
Posted: Wed Mar 12, 2008 9:57 pm
by maggsy
dB wrote:i f*cked up .. then got the sh*ts and got it stuck in my hair
BAHAHAHA
DIY: how to get film stuck in your hair

Posted: Thu Mar 13, 2008 4:01 pm
by I8A4RE
Oh video footage of that would have been priceless
Posted: Wed Mar 26, 2008 9:11 pm
by brimstone
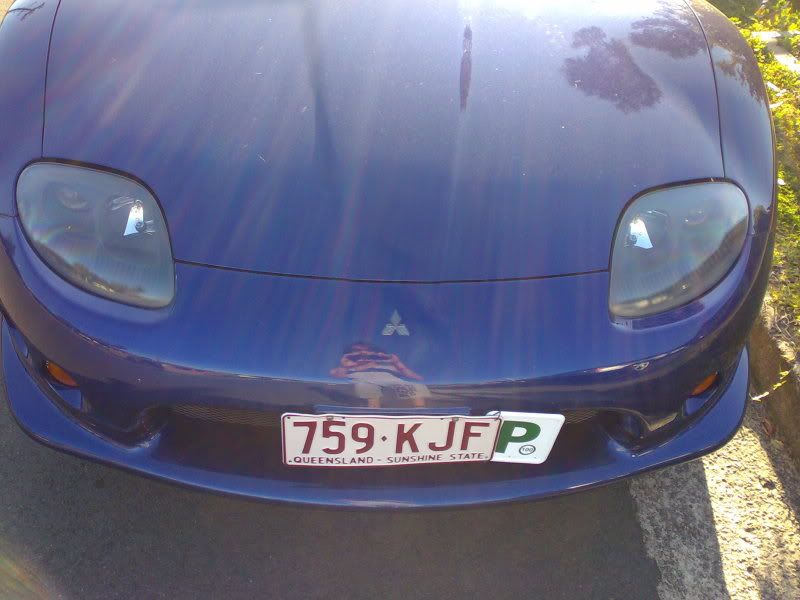
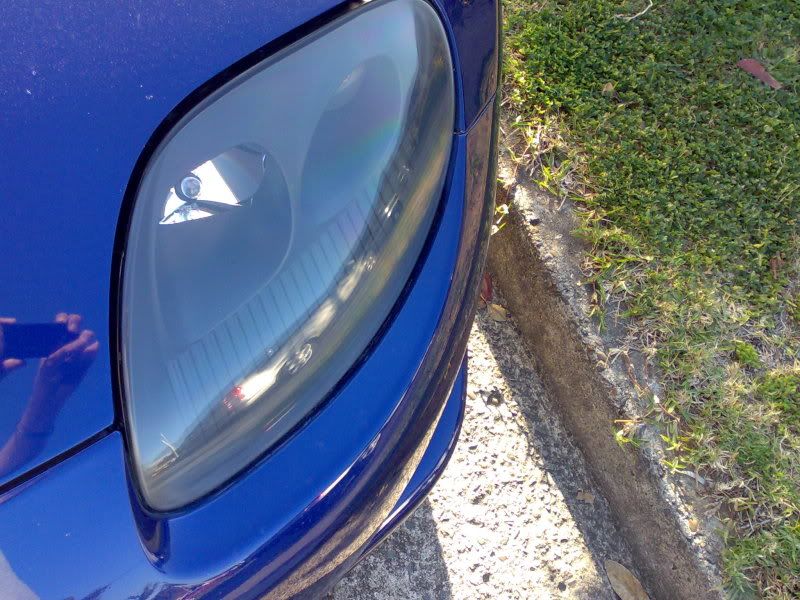
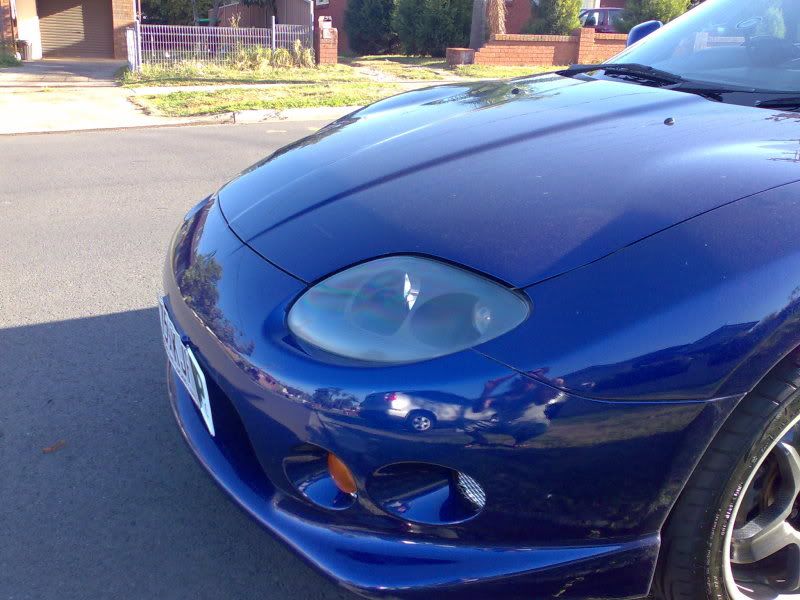
did mine over the weekend and im dam happy with the results. i convinced a friend to do his lights too (guess which one is his lol) so tell your fto impaired friends with jap imports


By
brimstone103, shot with
N91 at 2008-03-26

By
brimstone103, shot with
N91 at 2008-03-26
Posted: Thu Apr 03, 2008 11:24 am
by cassio
Hay guys, i did this last night using 1200 grit wet dry sand paper and an angle grinder with wool thing attached and at first it didnt work so i had to take my front bumper off and take the lights out, and after i did that it took me about 1hour and a half for each light, probably 20 mins sanding and then the rest buffing little bits at a time until shiny, so about 3 hours all up, and then it turned out good not absoultly perfect but a lot beter than what it was.
Posted: Thu Apr 03, 2008 2:42 pm
by I8A4RE
mine took like 20mins a light, using a perspex cut and polish
Posted: Thu May 15, 2008 1:55 pm
by Valandis91
i did this on one light last night but from some angles in the light you can still see the scratches although it looks clear from front on but i want them to be perfect... and when i shone a torch on them the scratches were a bit more obvious so i imagine on a sunny day it wouldnt look to flash...
i used 1200 grit and kitten cut and polish ($10.95)
is there something im doing wrong or should i go over it with 2000 grit?
Posted: Thu May 15, 2008 5:20 pm
by Tippin
Valandis91 wrote:i did this on one light last night but from some angles in the light you can still see the scratches although it looks clear from front on but i want them to be perfect... and when i shone a torch on them the scratches were a bit more obvious so i imagine on a sunny day it wouldnt look to flash...
i used 1200 grit and kitten cut and polish ($10.95)
is there something im doing wrong or should i go over it with 2000 grit?
yea it would probably make sense to go over the process again with 2000 grit if the scratches are relatively small
I didn't do any sanding on mine though since my dad was worried about sanding perspex, so i just simply rubbed cut polish into em. Got them close 2 perfect anyway
Posted: Thu May 15, 2008 7:52 pm
by aza013
Polishing Product, use “Scratch Xâ€
Posted: Fri May 16, 2008 12:31 pm
by Valandis91
oh ok cool well i did the other light with 2000 grit to see what the difference would be and it was ony slight but the 2000 did look better so when i get that scratch x stuff ill sand the other one and then do both of them! thanks guys
Posted: Sat Aug 22, 2009 11:28 am
by Gholdwayne
Grue wrote:Just did mine again... buy hand. Don't feel you need to go out and buy an electric buffer for this!
During Sanding:
After Cut and Polish:
Half&Half:
What the hell polish did you use for that ?!! i want that clarity!
Posted: Mon Aug 24, 2009 10:07 am
by Grue
^ for that I used a product called T-Cut. It's a very light cutting paste/scratch remover/paint restorer.
Get the sanding perfect though - that's the important step.
Posted: Sun Sep 06, 2009 4:54 pm
by Gholdwayne
Sanded mine too, but i did not realize i had 400grit, when i was buying the sand papers i only looked at the price with the grit and took the paper next to the label assuming it was the corresponding one... little did i know the grits are written in the back which i thought were random numbers.
Anyway, i had 400, 800, 2000... >Fail, it turned out good but i wasnt satisfied, maybe coz J picked up that i had 400 and no 1200.. so did it again, this time, with 1200 then 2000, mother's liquid metal polish.. cant say its like brand new, but im really happy with the results, smooth with similar swirls to the body which is ok...
Its a bit wierd as i can see the rainbow in my headlights
credits to J, when i was sanding my lights at his house, he sanded a bit of my weds wheels and the metal stick that holds the bonnet up.. and for letting me use his mothers metal polish and buffer..( you happy man ? shii! )
Posted: Sun Sep 06, 2009 7:35 pm
by aza013
The car and lights are looking great well done.