
http://www.talkaudio.co.uk/vbb/showthread.php?t=217708
First off you'll need to get the carbon & resin. I picked up some 200 gram/meter 2x2 3k twill weave off ebay (had some paypal money in there so what the hey).
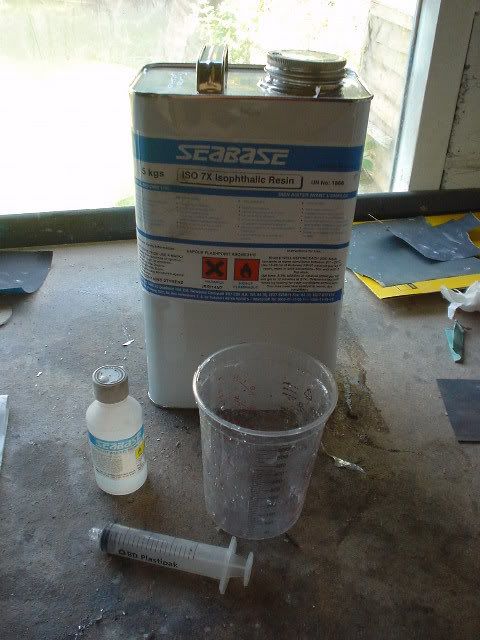
The resin, you want to get some surfboard resin, its super clear so the weave will be visable & UV resistant so your pieces wont dis-colour. I bought some Simlar ISO 7x from here (there are other resins but this is the best!) www.seabase.co.uk Simlar ISO 7x what you will need to also get is some Wax in Styrene (I'll explain later) Wax in styrene
Get yourself some latex gloves, a 1/2" paint brush, nail varnish remover with Acetone in it (for cleaning the brush), project pack of wet & dry paper, a syringe (for measuring the cataylst), measuring cups and your ready to go.
Get what ever piece you want to wrap (start simple remember!) I'll use the interior mirror trims for this.
Rub them down with some 120 grit to key the surface and give them a good wash to get all the grit & dirt off.

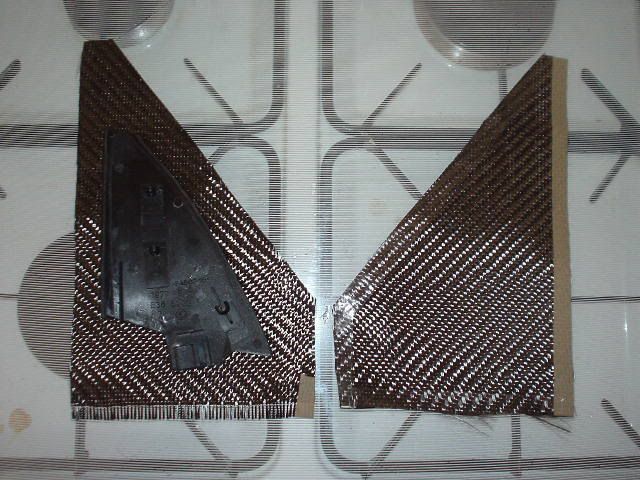
Next is cut the carbon to shape so it easier to wrap around the trim. Dont forget to tape the edges of the carbon otherwise it'll fray and lose all its shape
Lay down a coat of resin mixed with hardener over the surface of the piece, Let the resin dry enough so that when you touch it with your finger it leaves an imprint but doesn’t come off on your finger.
Don't mix up too much resin for this, it'll only go to waste!! the Simlar has a 1:45 ratio, for these small parts I mix up no more than 25/30ml for both pieces.. so just under a ml of hardener
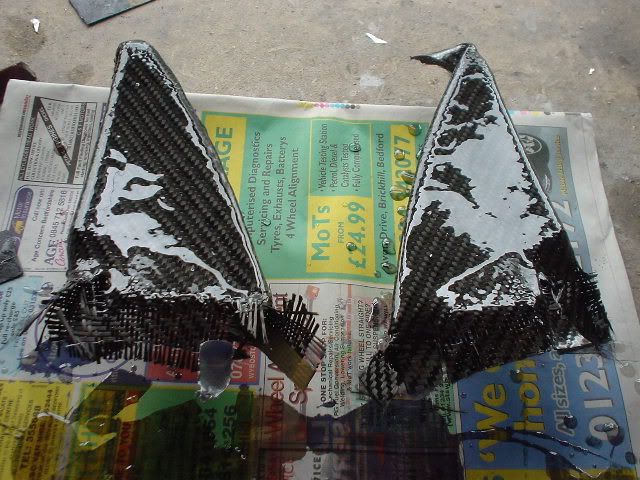
Once its tacked up you can lay the carbon CAREFULLY over the piece (this is basically the most critical parts of the process, **** this and you've ruined the part, simple.
Wrap the carbon around the trim and start to tape it at the back to stop it from coming unstuck (doesn't have to look pretty on the back LOL
Nows the time to 'correct' any slightly wonky weave you might have (on these flat bits you'll be cool but when you do harder parts it happens). To get it all looking pretty again grab yourself something small with a blunt but small tip, I use one of the clicker pencils with the lead removed. You can now go around the trim pushing and tweaking the weave until its perfect again.
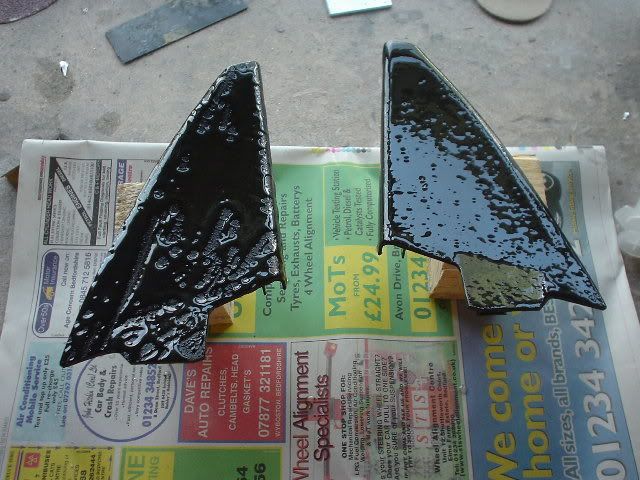
Once thats dry now come the process of building up the layers of the resin, you'll be sanding most of the resin back to get a totally flat finish so it's important to add plenty of layers so you dont sand though the resin into the carbon. Rule of thumb I've used 3 good layers on all my pieces and it's allowed me you sanding back enough without rubbing through.
In the last layer of resin and your wax in styrene this basically stopped the top layer of resin staying tacky!
I didn't buy any of this and found out the hard way. If you dont have this wax in styrene its not big deal you can still sand it ok but your hands stick to it. ITS OK THE RESIN IS DRY UNDERNEATH!!!!
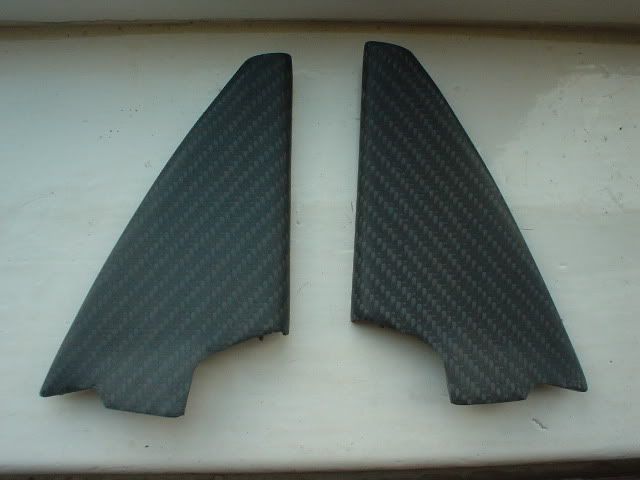
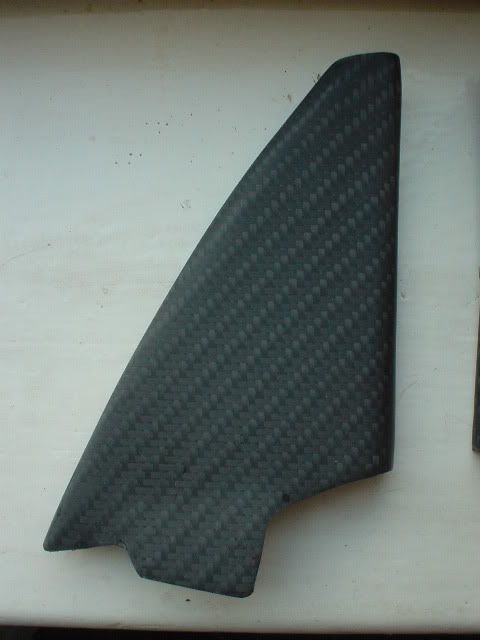
Nows the sanding..... starting with 120 to get the high spots etc.. working through 240,400,800 and finally 1200, I kid you not!!!!
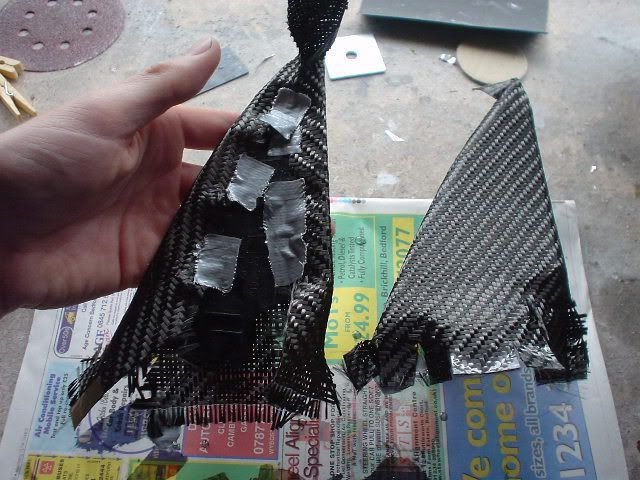
To cut off the excess from the back of the trim I use a Dremel with a combo of the sanding do-dar and a cutting disc. BEFORE you cut anything have quick look at where the trims going and suss out what edges will be seen when in the car, you dont want to sand an edge back too far otherwise again it'll knacker the trim
You'll end up with a perfectly flatened trim, its a very similar to bodywork, before lacquer you have to flat back the panel.
The final step is a coat of good old lacquer
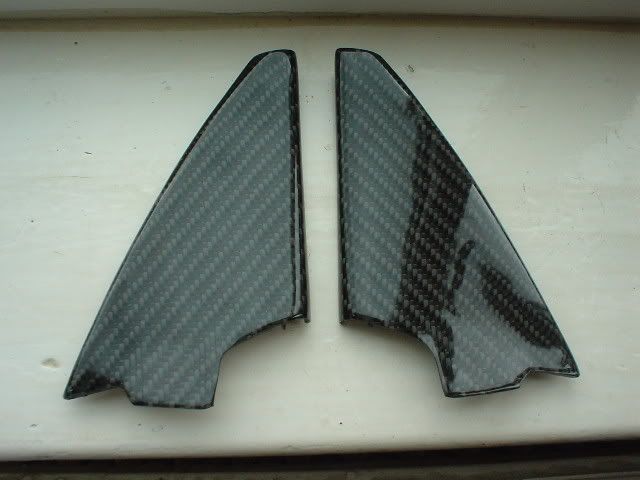
Stand back and sit down because your high on resin & lacquer! LMAO